Zendesk Reader
Zendesk is a customer support platform that provides in-depth tools for managing customer experience. The Striim Zendesk reader ingests Zendesk data and emits WAevents that can be processed with continuous queries or directed to a Striim target.
Summary information and supported objects
APIs used/data supported | Zendesk Support API |
Supported targets | Any Striim target that accepts WAEvents |
Security and authentication | OAuth with access token or username and password |
Operations / modes supported | Automated mode (consisting of Initial load and Incremental load) Initial load Incremental load |
Schema management | The Zendesk Reader supports initial schema creation, which propagates the object schema from the source to the target |
Resilience / recovery | Configurable retries, A1P and E1P recovery for incremental load only, configurable resync |
Performance | Striim Platform-supported parallel execution |
Programmability |
|
Metrics and auditing | Key metrics available through Striim monitoring |
Key limitations | No support for custom objects Data fetching limitations |
Create a Zendesk Reader application
Create a Zendesk Reader application using a wizard
Log in to a Striim instance.
Click Create an App from the Apps menu.
Select Zendesk as your source, and specify your target. Click Get Started.
In Name, type a name for the app, then select a Namespace from the drop-down.
Click Save.
Enter the Zendesk Connection URL.
Select Authenticate using OAuth, Authenticate using User Credentials, or Authenticate using Api Token, as suited to your use case.
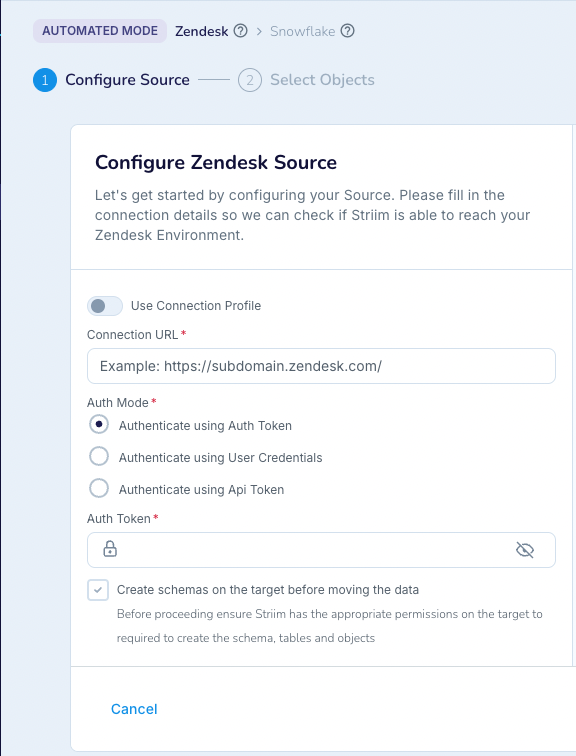
To use OAuth to run the application, you must enable token access. In Settings, confirm that the Token access toggle is enabled in the Zendesk admin center.
To use user credentials to run the application, you must enable password access. In Settings, confirm that the Password toggle is enabled in the Zendesk admin center.
(To authenticate with OAuth) Enter the Auth Token.
(To authenticate with Api Token) Enter the Username and API Token.
To authenticate with user credentials, type the username and password of a Zendesk account in their respective fields.
Select Create schemas on the target before moving the data if you want that option.
Click Next.
The wizard validates the authentication information and displays the results.
Click Next.
The wizard displays a list of objects available on the Zendesk instance.
Select the objects to ingest and click Next.
The wizard advances to the next step.
Configure the details for the target.
Click Next.
The wizard displays summary information.
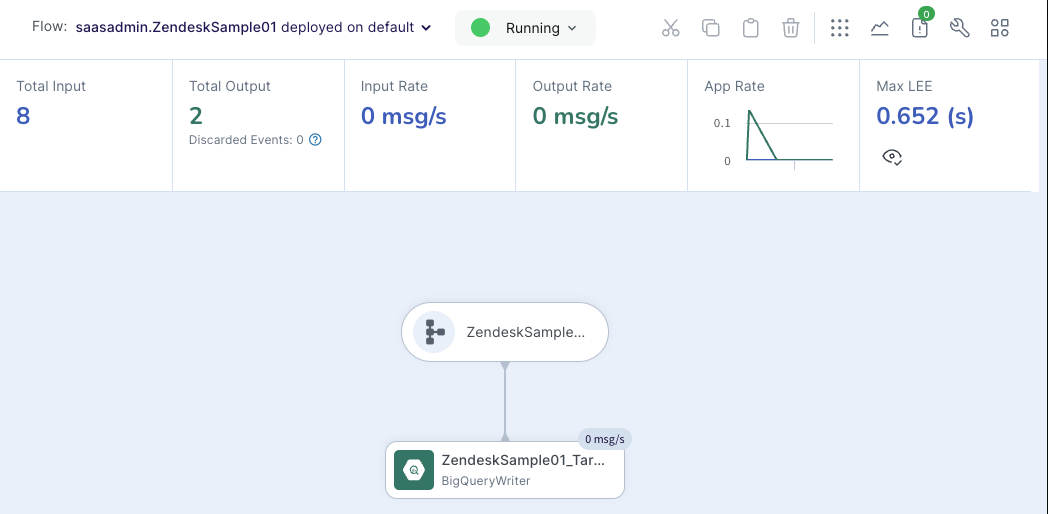
Click Save & Run.
The application saves and begins running.
Create a Zendesk Reader application using TQL
Sample Zendesk Reader application using TQL:
CREATE APPLICATION Zendesk_app;

CREATE SOURCE zendesk_source USING Global.ZendeskReader (
  Mode: 'InitialLoad',
  MaxConnections: 20,
  ThreadPoolCount: '0',
  authflow: false,
  ZendeskObjects: '%',
  Password_encrypted: 'true',
  FetchSize: 1000,
  ConnectionTimeOut: 60,
  connectionProfileName: '',
  PollingInterval: '120s',
  useConnectionProfile: false,
  ConnectionRetries: 3,
  Password: 'example/012345678abcde==',
  AccessToken: '',
  ConnectionUrl: 'https://striim1234567890.zendesk.com/',
  Username: 'example@example.com',
  MigrateSchema: true )
OUTPUT TO zendesk_output;

END APPLICATION Zendesk_app;