Initial setup for Zendesk Reader
This section describes how to configure Zendesk and Striim for the Zendesk Reader. You can authenticate using OAuth or API token authentication. Complete the third-party configuration in Zendesk first, then create a connection profile in Striim.
Important
Password-based authentication for the Zendesk Reader is no longer supported due to Zendesk API deprecation. Existing Zendesk Reader applications that use password authentication must be updated to use API token or OAuth authentication. See Zendesk authentication deprecation.
Third-party (Zendesk) configuration
Enable API access and create an OAuth client
Log in to the Zendesk Admin Center.
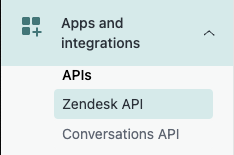
Navigate to Apps and Integrations > APIs > Zendesk API.
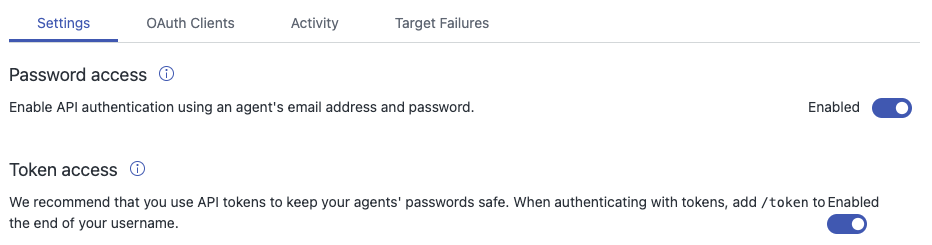
In Settings, enable the Token Access toggle.
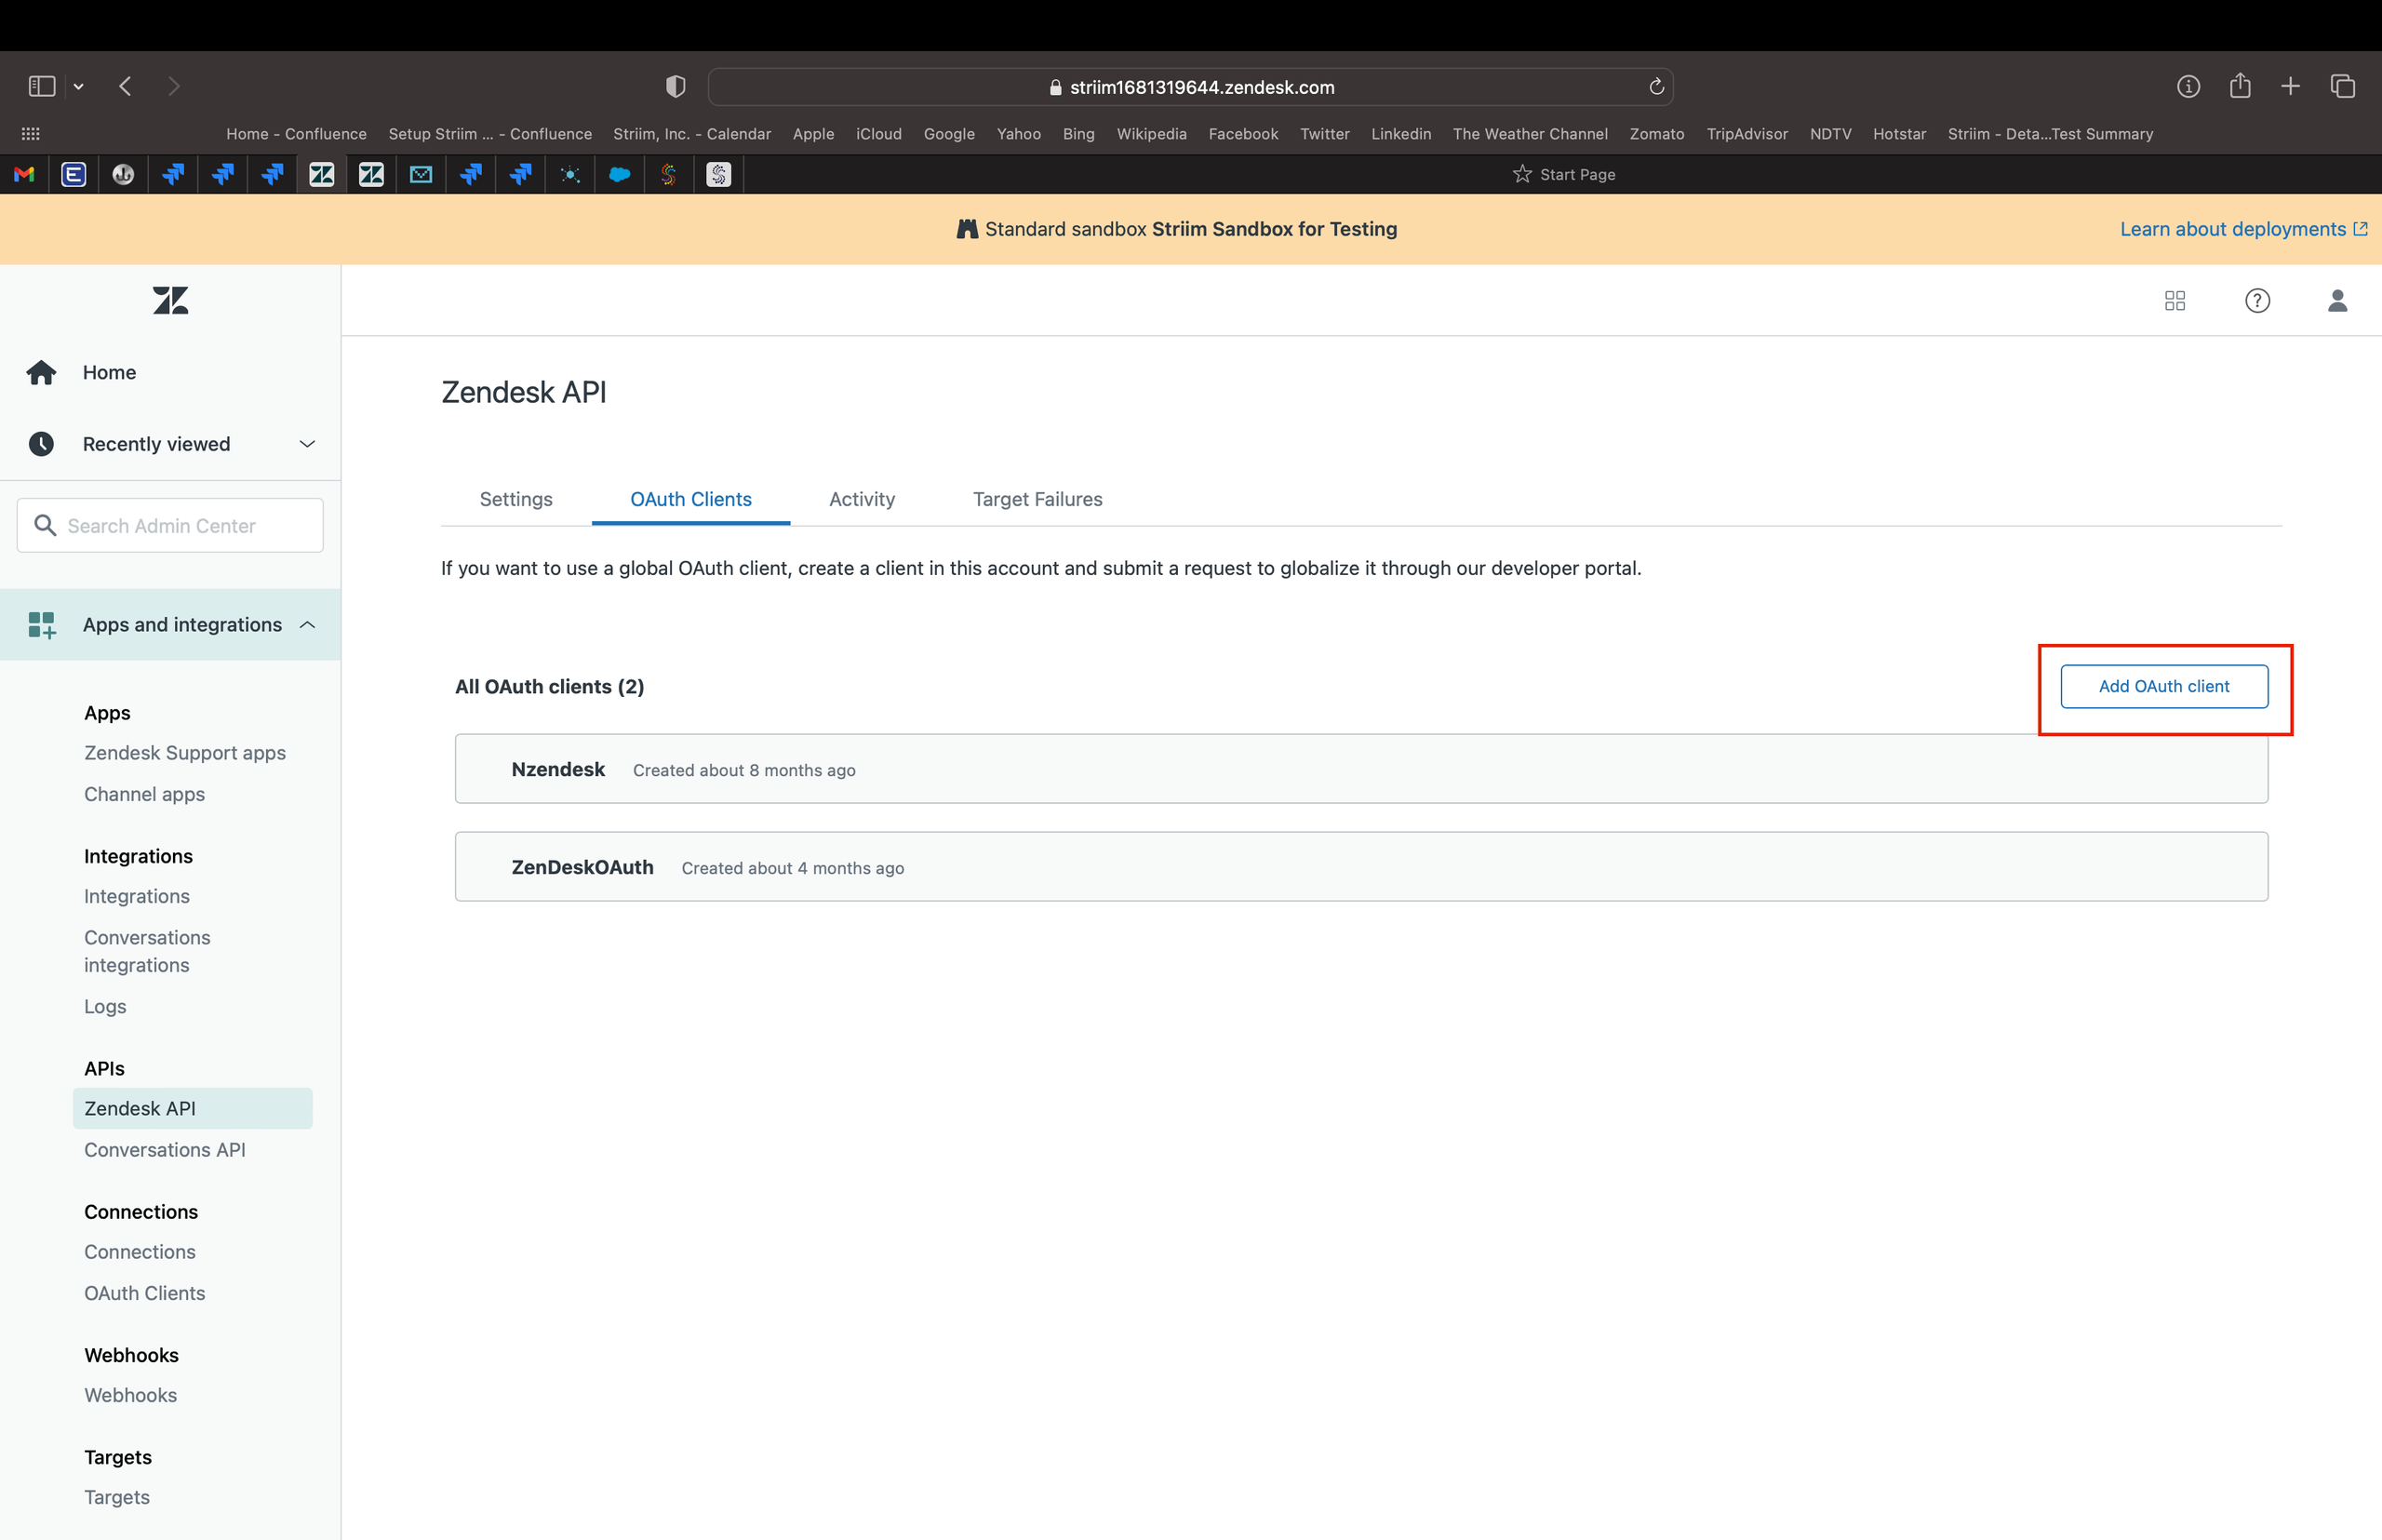
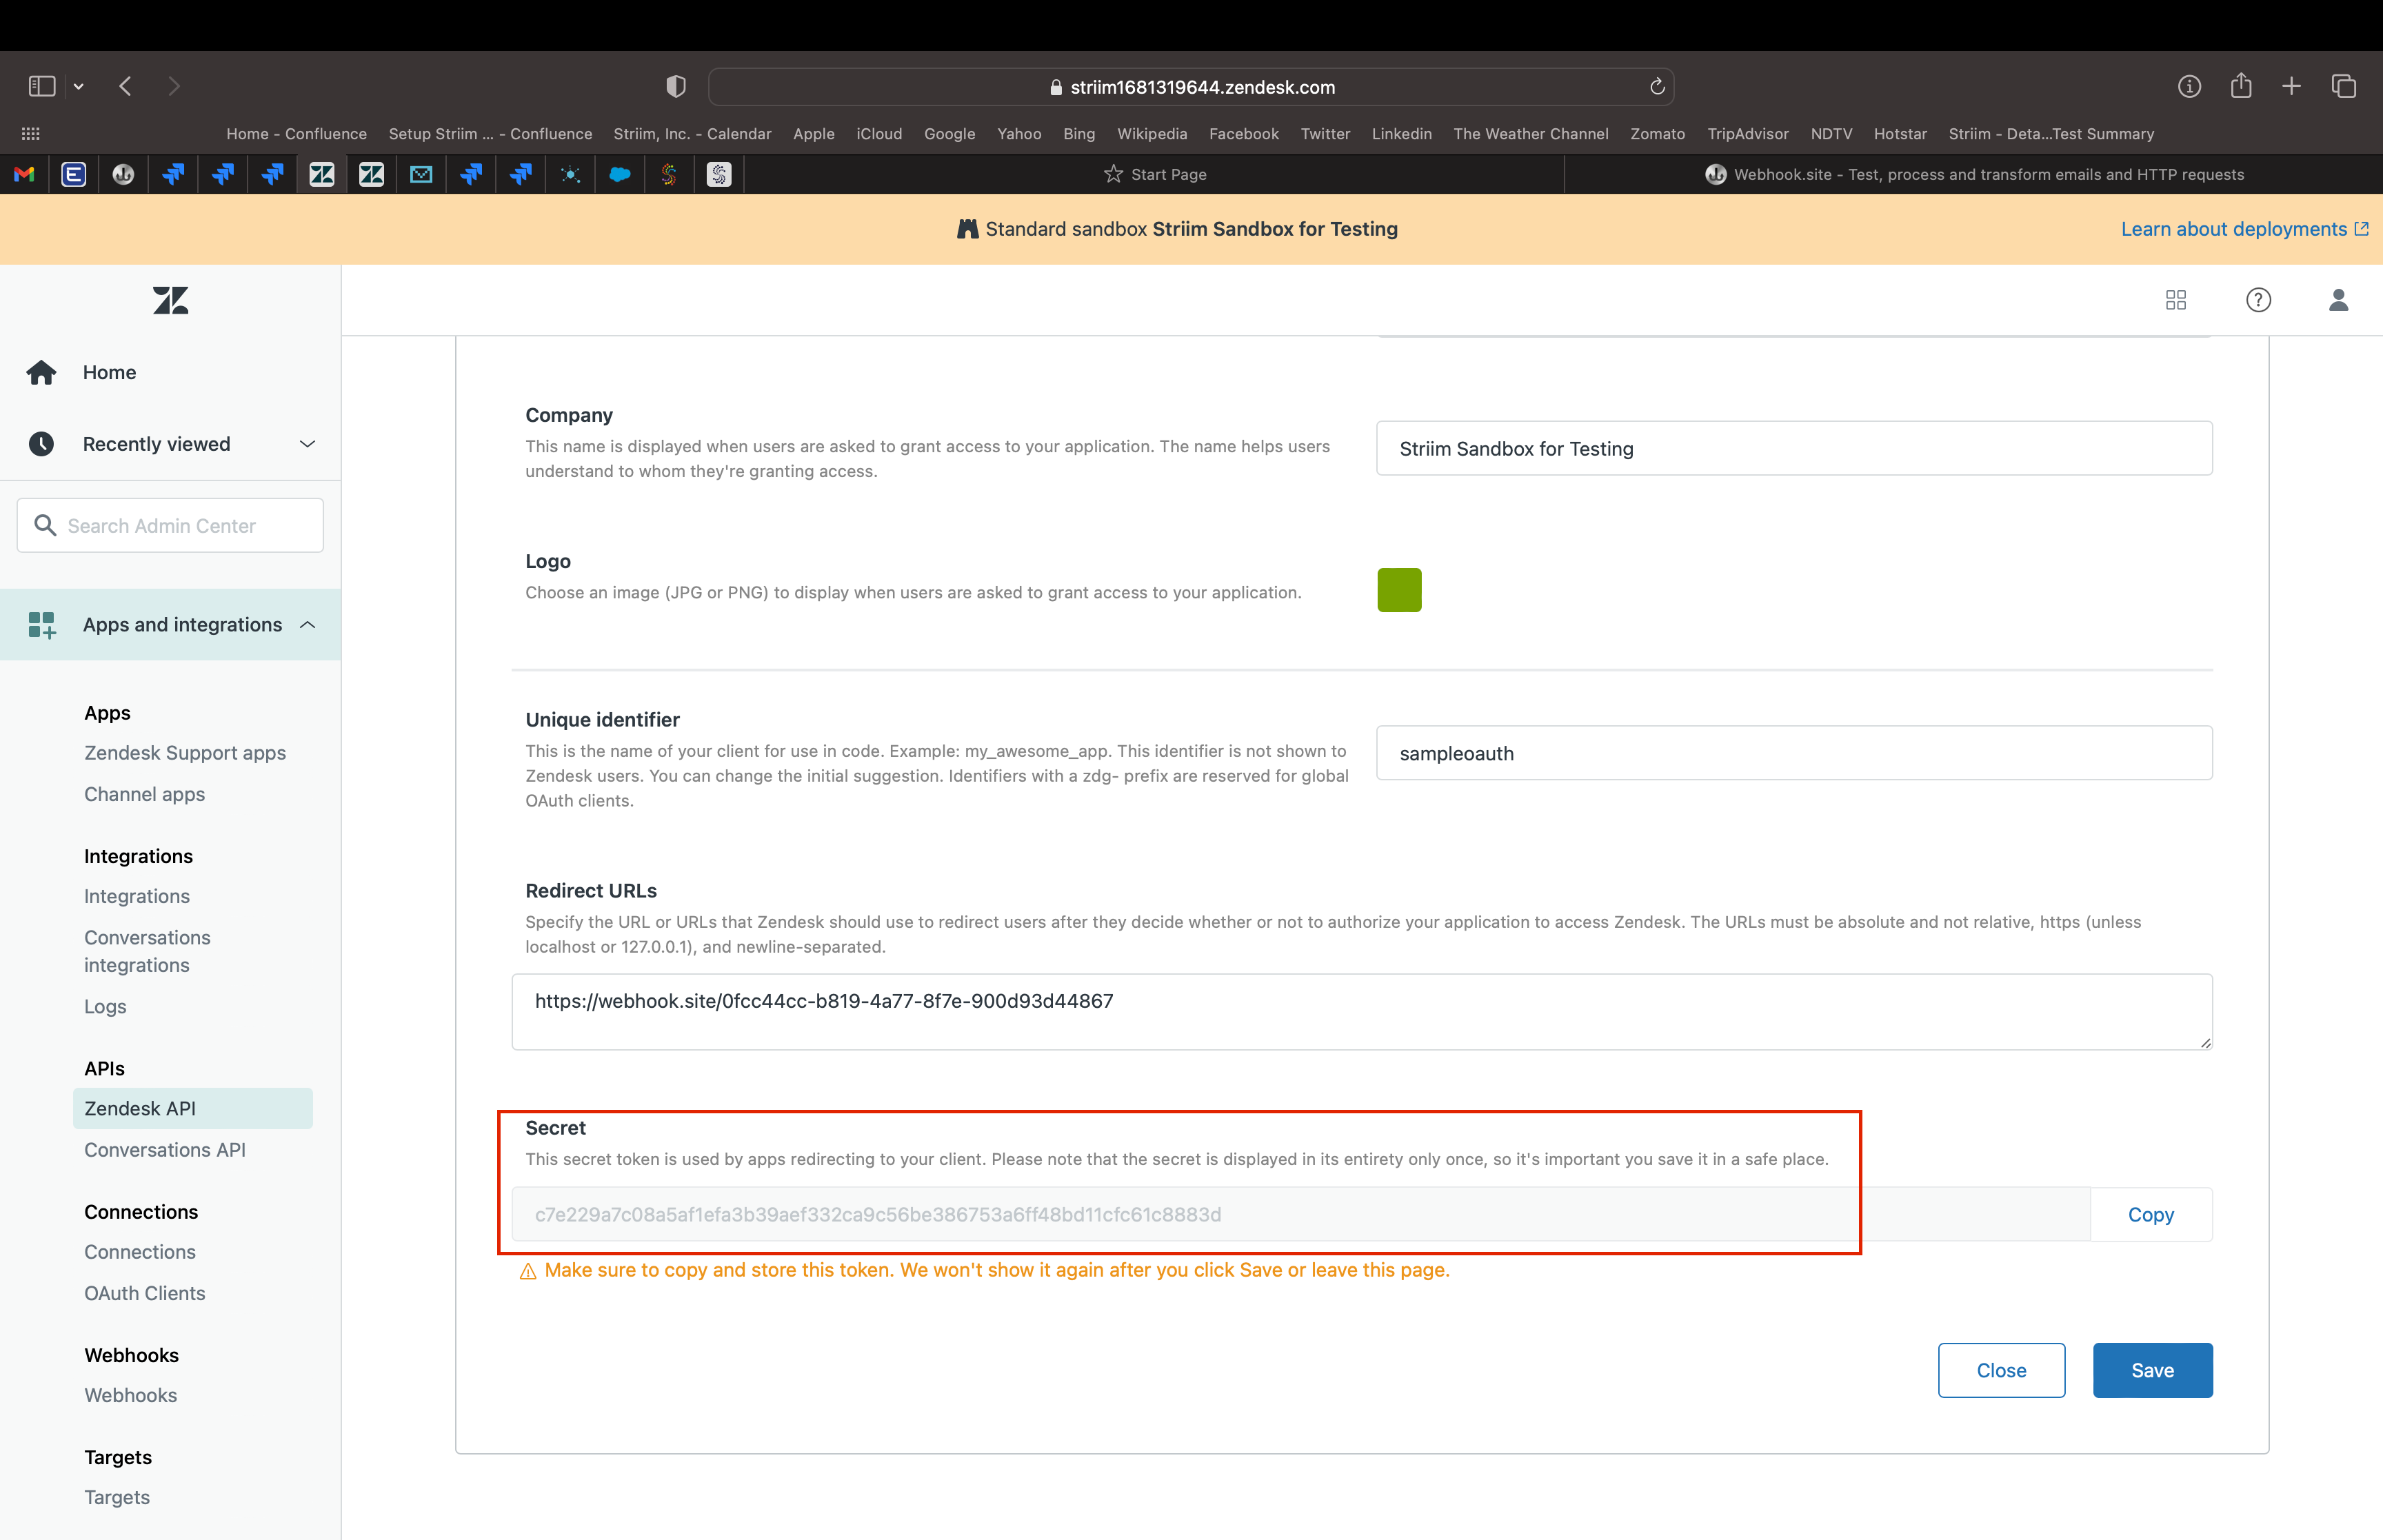
Open OAuth Clients and click Add OAuth client.
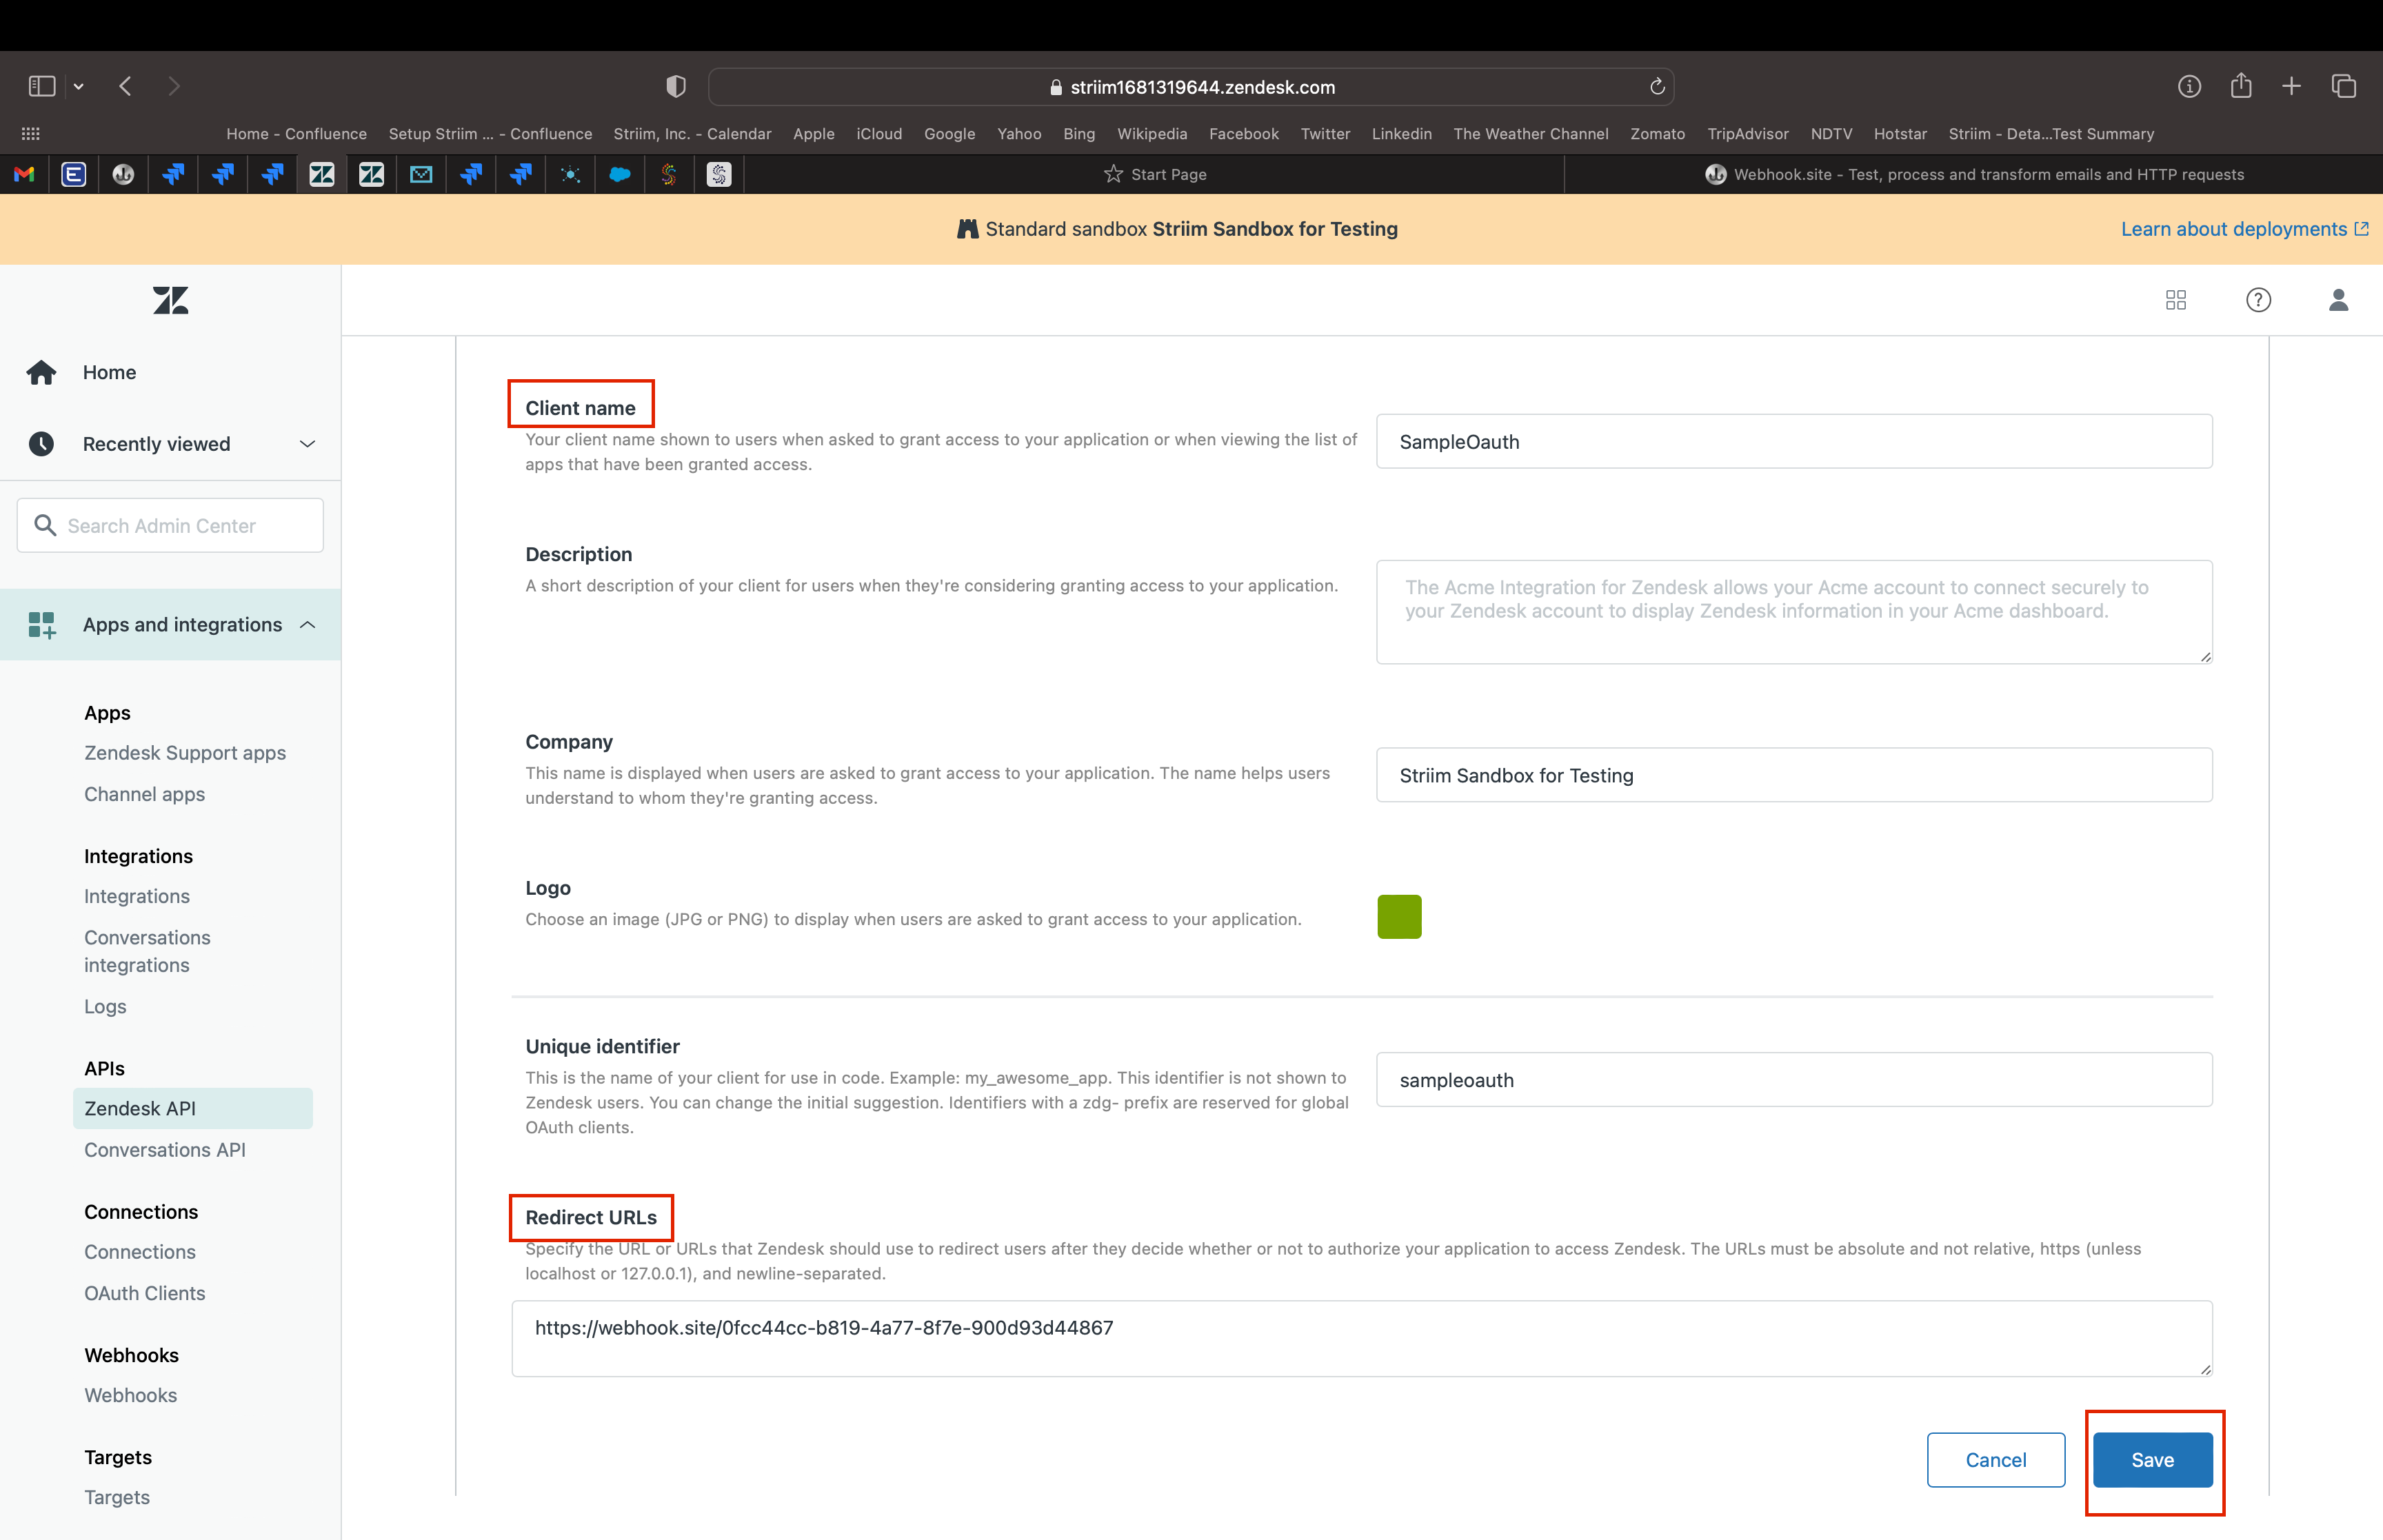
Enter a client name and a redirect URL, then click Save. Confirm to proceed.
Copy the generated OAuth access token and store it securely. It will be hidden once you leave or close the page. Click Save before closing.
Notes for OAuth authentication
The following notes may help when completing OAuth setup:
If you did not save the token, regenerate a new one.
You can use a test redirect URL (for example, a webhook site URL) or your own redirect URL.
To obtain an authorization code, visit the following URL in a browser (replace placeholders):
https://{subdomain}.zendesk.com/oauth/authorizations/new?response_type=code
&redirect_uri={your_redirect_url}&client_id={your_client_id}&scope=read write
Exchange the authorization code for a bearer token (example using
curl):curl https://{subdomain}.zendesk.com/oauth/tokens \ -H "Content-Type: application/json" \ -d '{"grant_type": "authorization_code", "code": "{your_code}", "client_id": "{your_client_id}", "client_secret": "{your_client_secret}", "redirect_uri": "{your_redirect_url}", "scope": "read write" }' \ -X POSTSample response:
{
  "access_token": "8f782c9720c74866d2bcxxxxxxxxxxxxx",
  "token_type": "bearer",
  "scope": "read write"
}
Common error (example):
{
  "error": "invalid_grant",
  "error_description": "The provided access grant is invalid, expired, or revoked
  (e.g. invalid assertion, expired authorization token, bad end-user password credentials,
  or mismatching authorization code and redirection URI)."
}
Configuring a connection profile in Striim for Zendesk
Create a reusable connection profile for Zendesk, then reference it from the Zendesk Reader. You may authenticate via OAuth or API token.
Create a connection profile (OAuth)
In Striim, navigate to Manage > Connection Profiles and click Add Connection Profile.
Select Endpoint Type as Zendesk and set Host to your subdomain (for example,
yourcompany.zendesk.com, withouthttps://).Click Sign in using OAuth, authenticate with a Zendesk account that has the required permissions, then close the browser window when prompted.
Back in Striim, click Test connection to validate, then Save the profile.
Create a connection profile (API token)
In Striim, navigate to Manage > Connection Profiles and click Add Connection Profile.
Select Endpoint Type as Zendesk and set Host to your subdomain (for example,
yourcompany.zendesk.com, withouthttps://).Enter your Username (the email address associated with your Zendesk account).
Enter your API Token (generated from the Zendesk Admin Center).
Click Test connection to validate, then Save the profile.